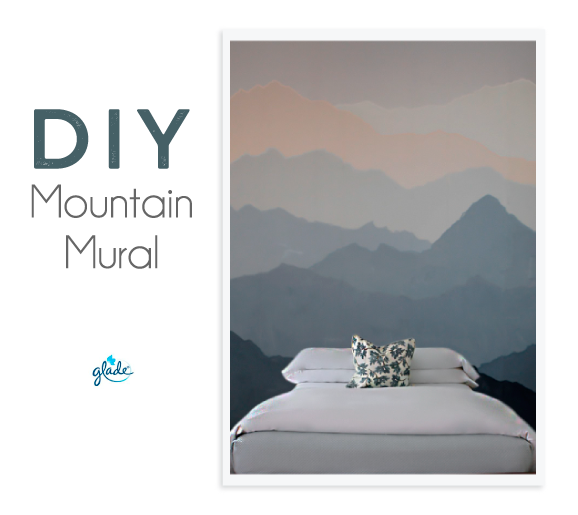
I truly believe that our surroundings shape our mood…
To create your own mountain mural, check out my instructions below.
This shop has been compensated by Collective Bias, Inc. and its advertiser. All opinions are mine alone. #SienteGlade #CollectiveBias
With the new year approaching, I was starting to feel the resolutions bug. Determined to start the new year out fresh and better than the one before, I began my yearly “what do I want to achieve” brainstorming session. But, the thing is, I have an issue with new year’s resolutions.

Like many, I never seem to stick to them. Sure, I start out strong, but usually by the second month, I’ve forgotten about them completely. Truthfully, I feel resolutions are too harsh because there are only two outcomes: either you’ve succeeded (hooray for you overachiever!) or you’ve failed (congrats to you professional procrastinator). There is no middle ground.
So, that is why this year, I decided to skip the big resolutions and instead commit to small doable projects.
For my first project, I decided to spruce up my living space. I truly believe that our surroundings shape our mood, so I’ve decided to paint a mural in my room.
What you’ll need:
Paint: White, Black, Base Color (your choice).
The amount of paint you will need will vary depending on the size of your wall. I only applied one coat of paint to each section of my mural, so you really don’t need all that much. See the updated section below for more information on paint used.
Tools: paint brush, 2 containers (for mixing paint), pencil, and a mixing stick.
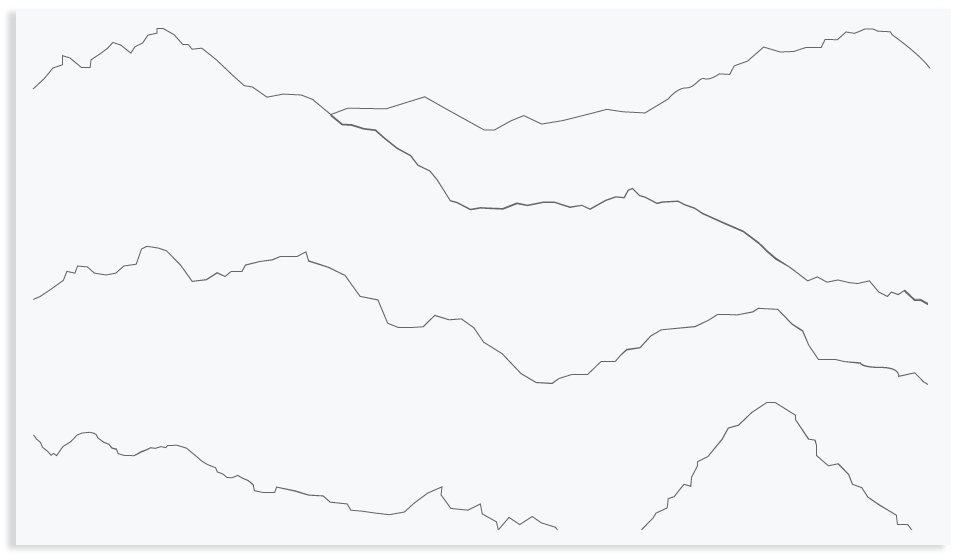
Step 1: Draw out your scene. Using a pencil, draw the ridge lines onto the wall. No need to be precise, have fun with this part and just be creative.
Step 2: Start painting by starting with the ridge that will be the base color, then paint the lighter ridges, then the darker ridges.

For the different shades, I simply mixed white or black paint to the base paint until I got the desired color. Check out the image below to see how I mixed the paint for each ridge.
You will use one container for the light ridges and one container for the dark ridges. When starting, just pour a very small amount of paint for the first few ridges. As you start mixing your colors in for each darker or lighter ridge, you will add more paint to your container. You don’t want to overfill your container or mix more paint than you need.
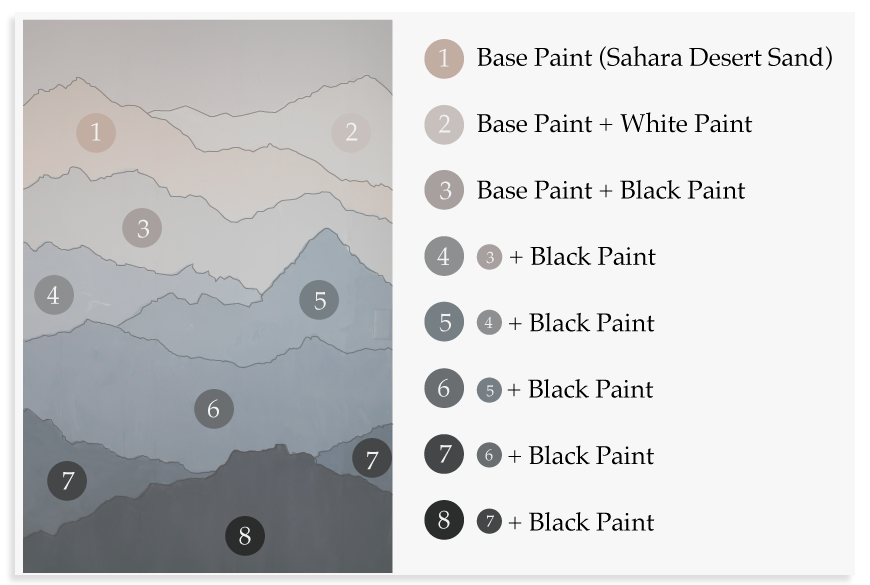
As you can see, I started with the second ridge to the top. I painted this ridge with my base color, then I painted the lighter ridge above next by adding a little bit of white to my base color. For the darker ridges below, I used a separate container to mix my base color with black. As I moved down the mural, I simply added a little bit of black paint to the paint I had just used for the previous ridge.
UPDATE
Many readers have asked for more information on the specific paint I used, so below you’ll find additional information on the paint I used and why I selected it.
For this project, I bought my paint at Walmart. It was a “grab-n-go” paint, which means that it was already tinted. You can find this kind of paint on the shelf and ready to go, unlike most other paints that still need to be mixed at the paint counter. I found this to be super convenient and super cheap.
I purchased one quart of Glidden High Endurance Interior Paint and Primer, Sahara Desert Sand Eggshell paint, and one gallon of same brand white paint (I don’t remember the exact name, sorry). I ended up barely using any white, so depending on the size of your wall, you may be able to get away with one quart of white paint instead of one gallon. For the black paint, I bought one quart of Glidden High Endurance Grab-N-Go Interior Paint and Primer and Eggshell Onyx Black paint.
- Also, my wall was already painted a very light grey color (that is the top most section in the pictures above), so if you’re going for a similar look you may want to paint your entire wall with a similar base color before you begin your mural.
I hope this helps!
For a final touch, bring your mural to life by using Glade® Clean Linen® scented Wax Melts. It’s the perfect complement to make your room feel fresh and Pureza (new) this new year.
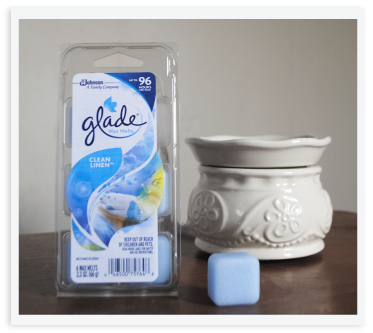
Glade® Wax Melts are small wax cubes that fill your home with the most delightful aromas.
They’re super easy to use, just drop a cube onto the tray of your Glade® Wax Melts Warmer, then just sit back and relax while it fills your new space with fresh scents. Each wax melt can last up to 16 hours. They can be found at your local retailer, I got mine at Walmart.

To stay in the know, like Glade® on FACEBOOK or follow them on TWITTER, and click here to receive coupon offers from Glade®.
Mural by Monica (Blogger/Co-Founder of SpanglishGirl.com)


asbestrecipes
January 25, 2016wow this is fantastic, love the idea of a mural such an art piece for a bedroom, wonderful job and thanks for sharing it with us! #client
grace
August 17, 2016This is so awesome! Found your blog on Pinterest. 🙂 Would you mind sharing the paint color names/numbers and from which store you had purchased them? THANKS!!!
The Spanglish Girls Guide
September 3, 2016Hey Grace, I used two different brands, I used Gliddon High Endurance in Sahara Desert Sand and Onyx Black, and Color Place Interior Paint in White. These were both Grab-n-go from Walmart (Grab-n-go is paint that is already mixed, so no waiting around for an employee to help you).
Jenn
October 21, 2016What color is the very top part of the wall. That is not numbered. Is that the color of the rest of the room
Anonymous
December 15, 2017I was wondering the same as Jenn… The color used in the part that is not numbered…